

How to Paint OSB Board - A Comprehensive Guide
2025-06-28 00:23
A Guide To Painting OSB Boards
OSB – A Unique Surface Ready for a Splash of Color
Painting OSB (oriented strand board) might seem challenging at first because of its rough texture and highly porous surface.
But don’t worry — with the right preparation and tools, you can achieve a smooth, professional finish just like you would on any other wood.
In this post, you’ll find everything you need to know—from prepping your OSB to handy tips—to make your painting project a success.
What Is Oriented Strand Board?
Before we get into the painting, let’s take a moment to understand the material we’re working with.
OSB (Oriented Strand Board) is an engineered wood made by bonding layers of wood strands with adhesives and pressing them in specific directions. It’s a cost-effective option often used in construction for things like subflooring and sheathing.
But why limit it to just building projects? Let’s see how we can turn this simple material into something special.
Necessary Tools & Materials
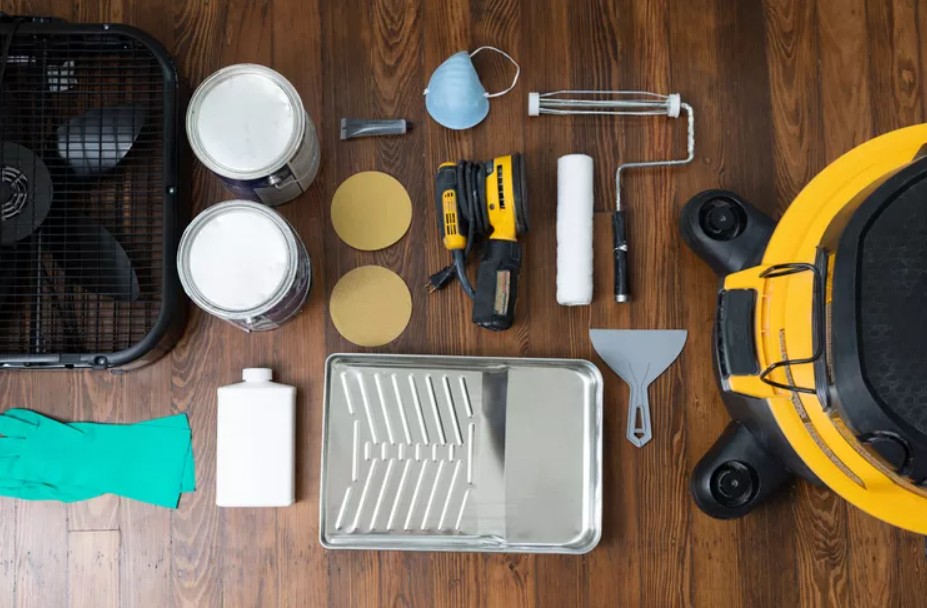
Every artist needs their tools. Painting OSB board is no different. Here’s what you’ll need:
Safety gear: goggles, dust mask, and gloves!
Sandpaper (120-grit): For preparing the OSB surface.
Tack cloth: To clean up dust post-sanding.
Paintbrushes and Rollers: Select both for versatility and efficiency.
Primer: Opt for a high-quality oil-based primer for the best results.
Paint: Acrylic or latex paint is the way to go when painting OSB.
Preparing to Paint OSB: All About the Base
Step 1: Lightly Sand the Surface
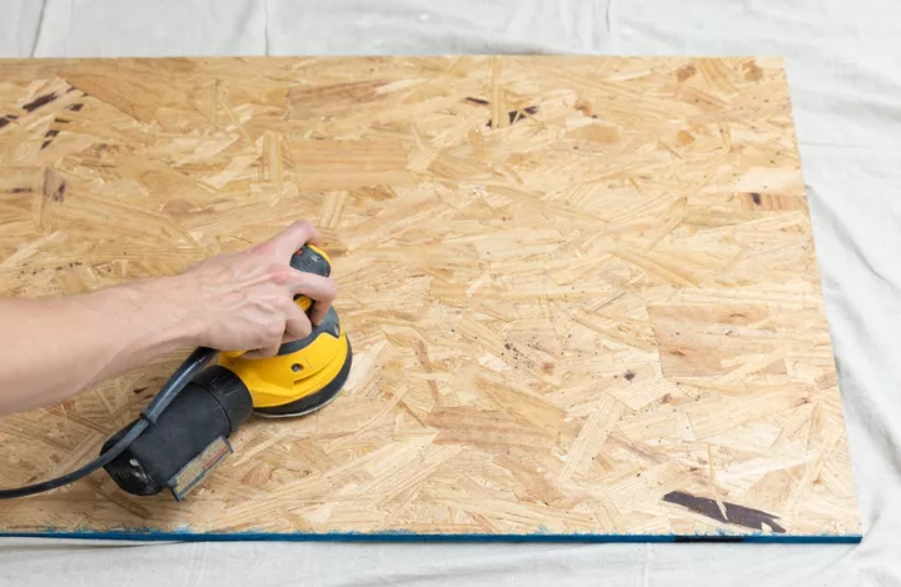
The importance of accurate surface preparation cannot be overstated, particularly with OSB board, which comes with a slender wax coating.
Designed as a moisture-resistant barrier, this layer can also hamper the painting process. Therefore, it’s highly recommended to strip off this wax layer with a suitable wood floor wax stripper before embarking on your painting journey with OSB.
If you’re aiming to achieve a smooth surface where the crisscrossed wooden pieces aren’t noticeable, consider using a product like 3M Platinum Plus Filler. This polyester resin filler can help you attain a uniform texture. The process involves applying layers of this filler and then sanding down in between each application, ultimately rendering a smoother finish to the board.
Step 2: Clean the Surface
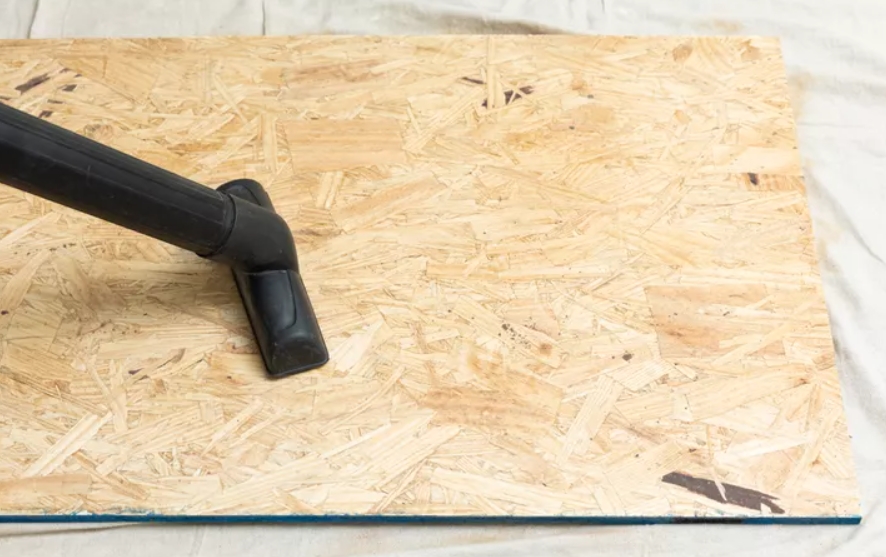
Post-sanding, you’re likely to have some dust on your OSB. Grab that tack cloth and clean the surface. A clean surface is crucial for an even paint application.
Step 3: Prime the OSB Multiple Times
Apply a coat of your chosen oil-based primer. This step seals the surface and prevents your paint from soaking into the OSB. Allow it to dry fully before moving on.
Factory edges of OSB provide temporary protection, but they aren’t designed for long-term endurance. Thus, it’s crucial to reinforce these edges with a high-quality sealant for durable protection.
Applying Paint: Let the Transformation Begin
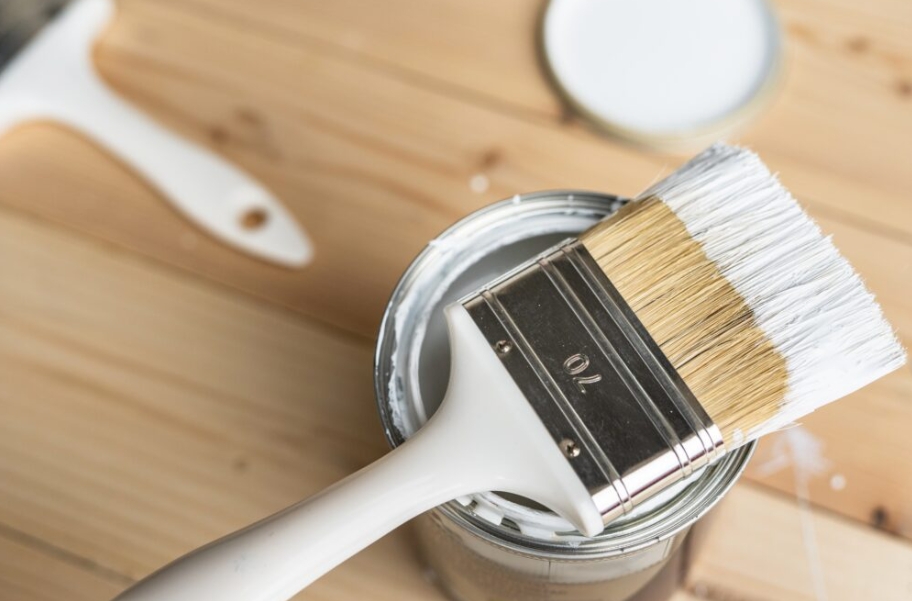
Step 1: First Layer of Brilliance
Now that your OSB is primed and ready, apply your first coat of acrylic or latex paint using your brush or roller. Rollers work well for larger surfaces, while brushes are perfect for edges and smaller areas.
Step 2: Patience is a Virtue
Let the first coat dry thoroughly. This step is crucial as painting over semi-dry paint can lead to a patchy finish.
Step 3: The Final Touch
After the first coat is completely dry, assess your work. If the coverage looks even, great job! If not, don’t worry. Apply a second and final coat, wait for it to dry, and voila – job done.
Conclusion
Painting OSB isn’t just about choosing your favourite color – it’s about using the right techniques and considering all the details to ensure a great outcome.
From choosing the right primer and paint to deciding how many coats are necessary, it’s the little things that make a big difference. The good news is, if you take the time to get it right, you can end up with some truly beautiful results!
Get the latest price? We'll respond as soon as possible(within 12 hours)